This article shows you how to drastically improve the quality of any photos using the Tune Image tool in Snapseed with your mobile phone.
If you are new to Snapseed, it is a free app to edit your photos with your mobile, which has far more features available in most of the native photo editors of the mobile phone.
In this article, I will explain how to:
- Use the Tune Image tool, the most basic tool of Snapseed to adjust the brightnbess, contrast, saturation, and more. It is the easiest tool to use, which gives you the most results in the shortest time.
- How to correct a tilted building with perspective tool.
To do so, you need to install the Snapseed app on your mobile, either Apple or Android. The following tutorial assumes that you already have the Snapseed installed.
Let’s get started.
What you can adjust with the Tune Image tool.
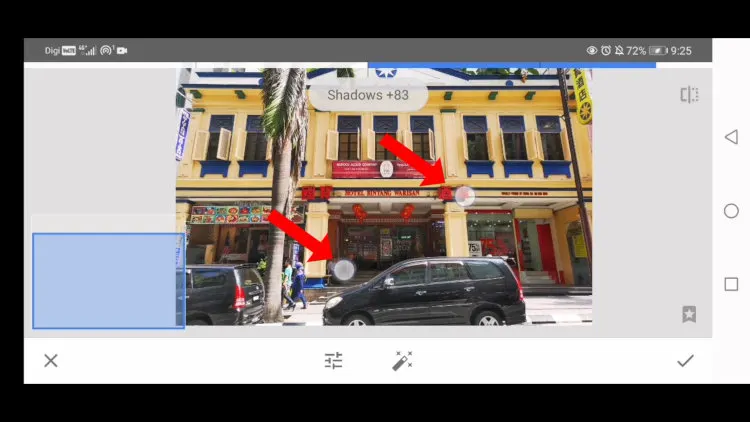
You can adjust brightness, contrast, saturation, ambiance, highlights, and shadows.
The meaning of brightness, contrast, and saturation are self-explanatory.
The ambiance setting is to adjust the contrast and saturation at the same time. I seldom use it as I like to use contrast and saturation separately.
For highlights, it will darken or lighten only the highlighted area, which means the bright spots in the photo.
As for shadows, they will darken and lighten only the shadows that are a dark area in your image. The bright area that is the highlight will not be affected.
Use the warmth setting to adjust the warmness of color. For example, you can add some cool blue color if you slide it to the left and add a warm orange color if you slide it to the right.
How to use Tune Image Tool to improve the image below
Suppose you already installed a snapseed app on your phone. Look for the image that you want to edit and then open it in Snapseed. Follow the instruction below:
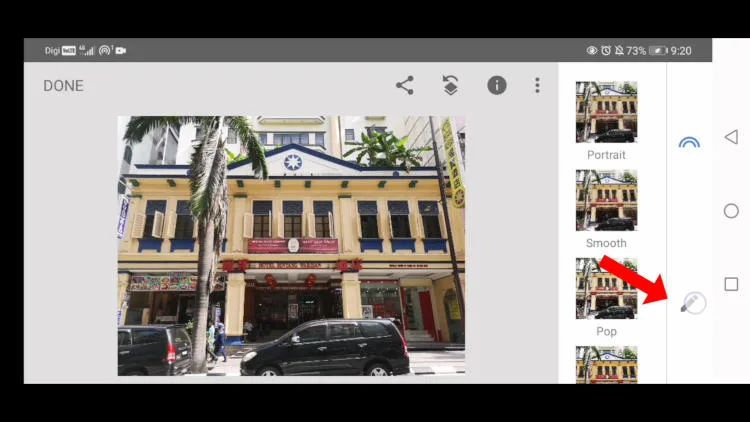
Tap the pencil icon to display the menu that shows all the tools in Snapseed.
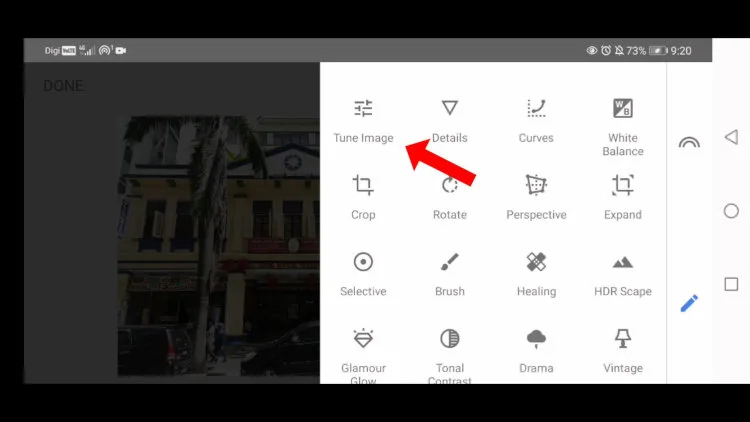
Now click the Tune Tool icon at the top left corner of the menu.
It will bring you to another menu, display several functions: brightness, contrast, saturation, ambiance, highlights, shadows, and warmth.
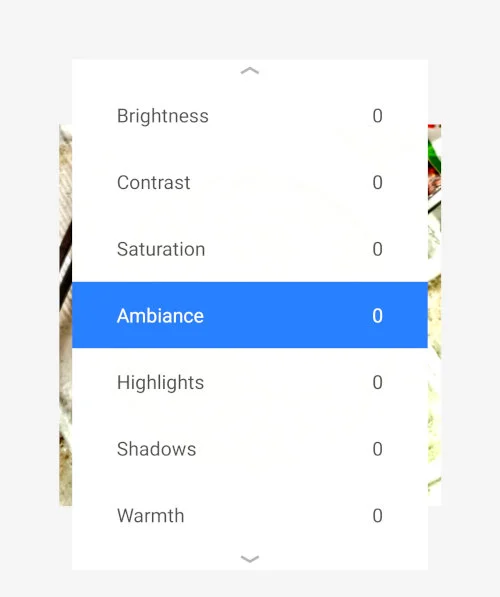
You can select any one of these functions by tapping on it. The selected function will turn to reverse blue. You can adjust the intensity for each of them. Slide to the left to reduce the intensity.
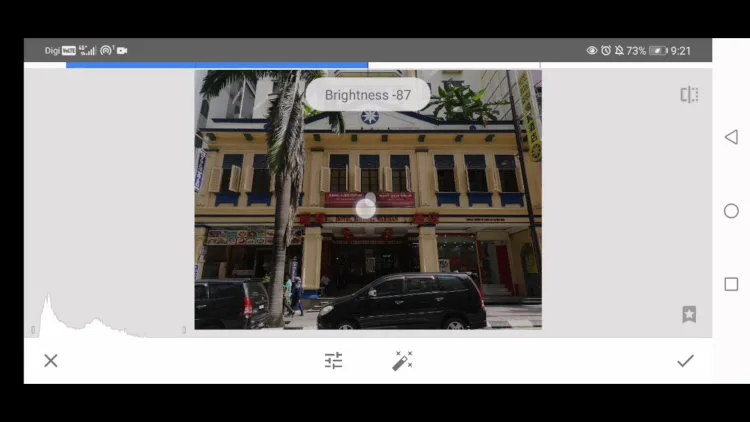
Slide to the right to increase the intensity.
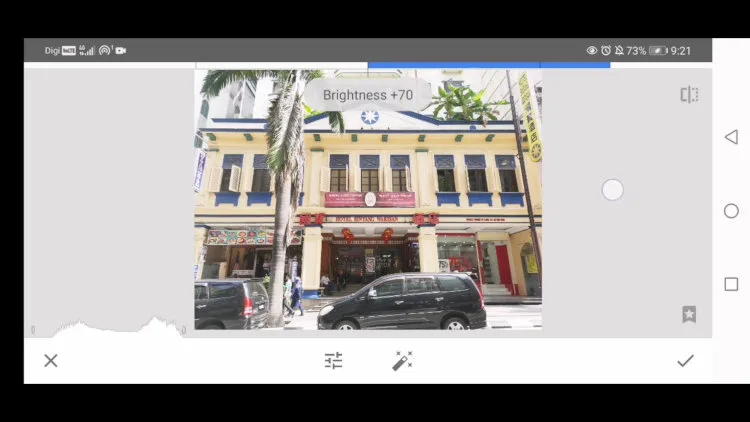
You can zoom in by using two fingers.
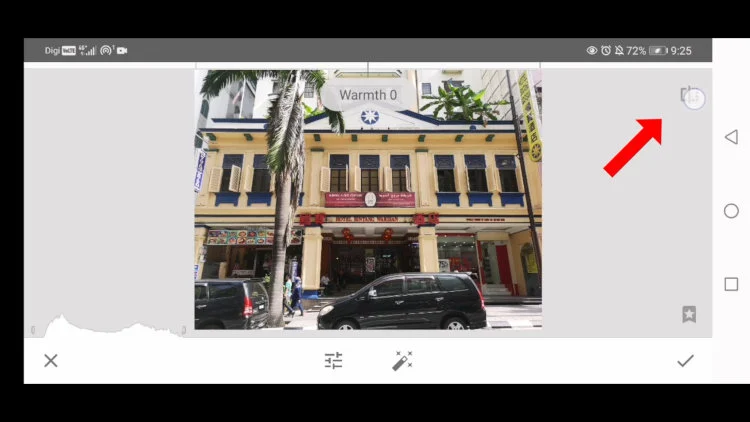
How to compare the before and after effect
After editing, you can tap and hold the icon at the top right corner to see the original photo and release your finger to return to the edited image. This method is a convenient way to compare the “before” and “after” effects on the fly.
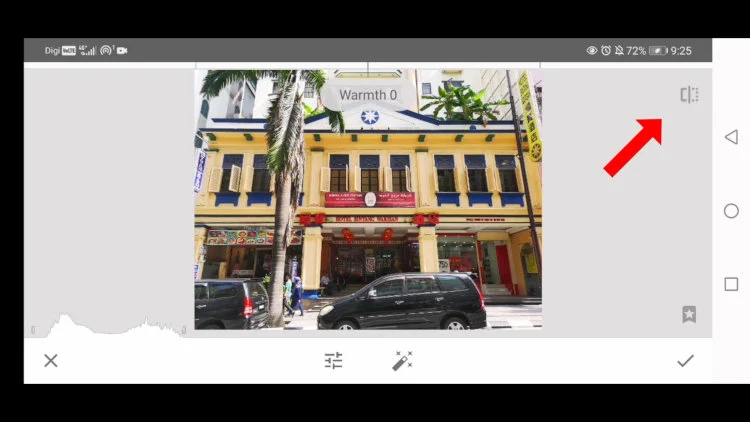
How to save your edited photo
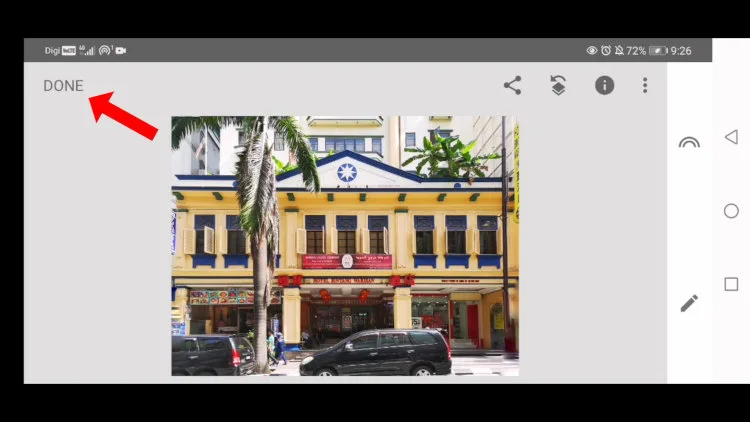
Tap the checkmark when you are happy with the edit.
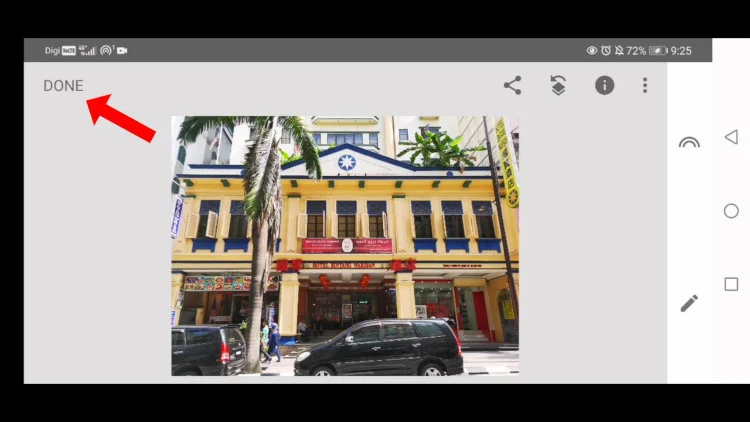
If you tap the word done at the left top corner, Snapseed will save it as a new image.
But now, I’m not going to save the image for now. Instead, I want to take you beyond the Tune Image tool to adjust the perspective of the building.
Use Perspective Tool to straighten the image
Open up the Perspective Tool.
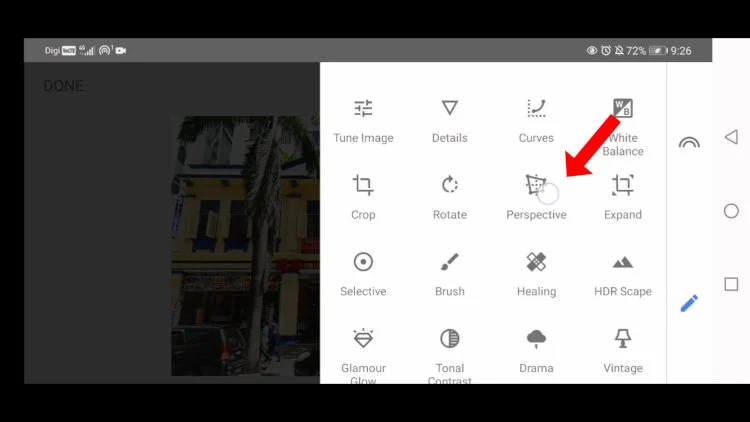
Pick the first option on the left to tilt the image.
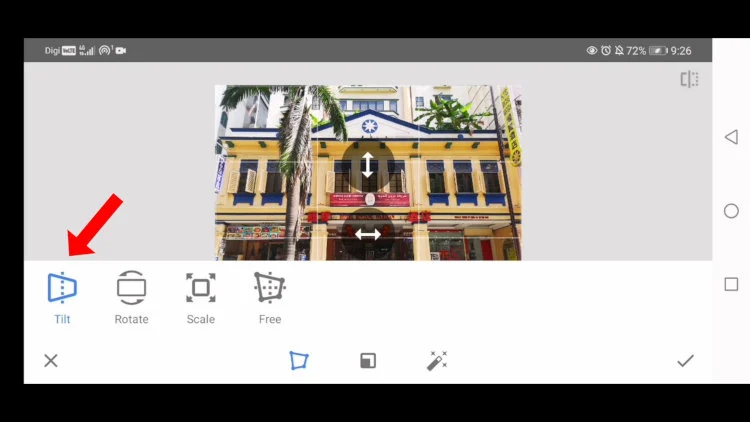
Slide down with your finger until the building is straight. Now it looks so much better. You can tap the icon at the right top corner to see the difference between before and after using the Perspective Tool.
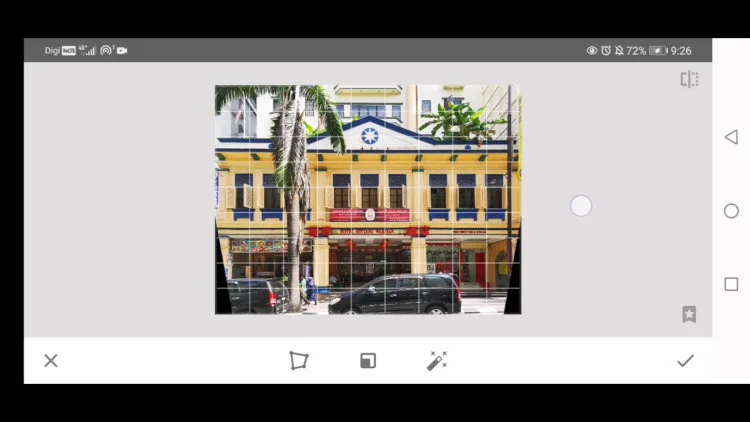
Click the checkbox once you are satisfied with the results, and finally click the word done on the left top corner to save the image.
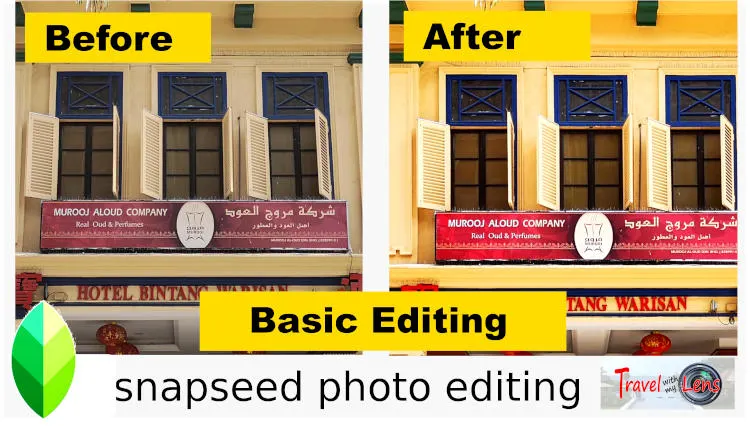
A quick comparison -before and after
Here is the comparison of before and after images.
- The color has been improved. (with Tune Image tool)
- The building is straightened.(with Perspective tool)
Please click the before and after image below to watch the video version of this tutorial.
Links to other tutorial in Snapseed fundametal
This image will look even better if you combine it with other tools.
- You can watch other videos on using Snapseed by getting back to the main page of Snapseed Fundamental.
- Aternatively, click the link below to access to other step-by-step tutorials:
- Tutorial 1: Tune tool - how to use it for the best result
- Tutorial 2: How to edit selected areas effectively with masking tool
- Tutorial 3: Glamour glow - a useful tool to improve light reflection
- Tutorial 4: How to edit food photos with stunning result fit for Instagram
- Tutorial 5: How to remove object of a photo (quick and easy)
