Here is the five-part free tutorial to improve your photo instantly with the Snapseed photo editing app.
These are live examples of how to use these tools to edit the below-par photos instantly.
Below are the links to all five videos.
Each video comes with an explanation to show the steps slowly. I hope it is helpful for anyone who wants to start using the Snapseed mobile app to approve the quality of your photos.
Click the respective image to watch the Snapseed photo editing video tutorial.
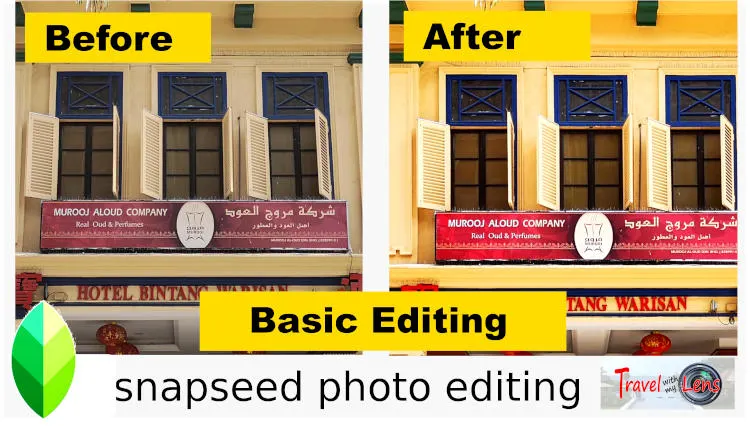
EP1: Tune tool - how to use it for the best result
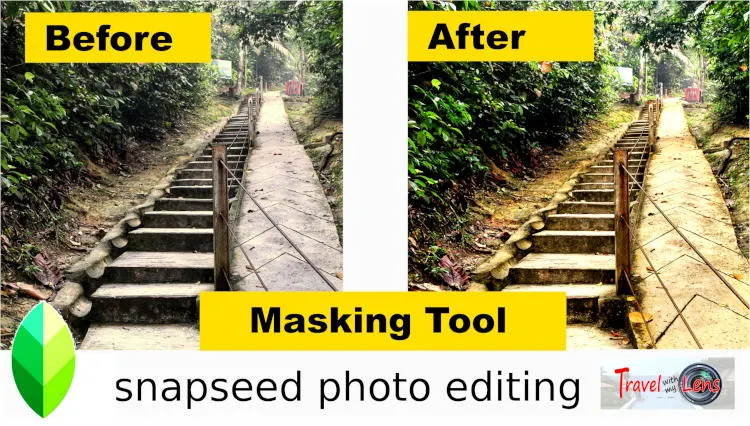
EP2: How to edit selected areas effectively with masking tool
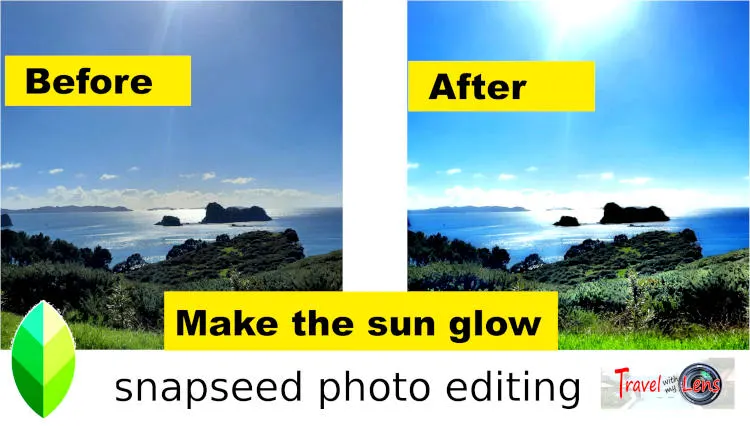
EP3: Glamour glow - a useful tool to improve light reflection
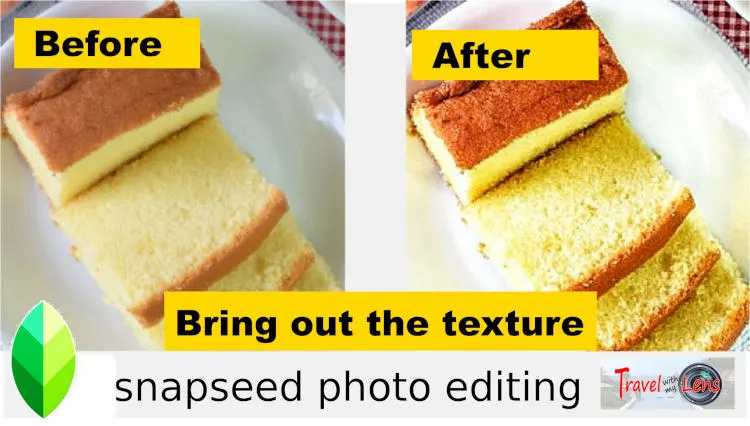
EP4: How to edit food photo with stunning result fit for Instagram
EP5: How to remove objects of a photo (quick and easy)
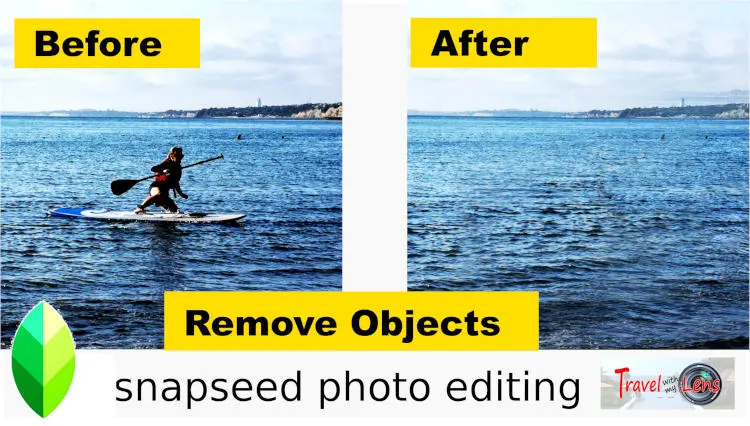
Links to other tutorial in Snapseed photo editing
If you prefer to read the step-by-step tutorial instead of watching the Snapseed photo editing videos, here are the links:
- Tutorial 1: Tune tool - how to use it for the best result
- Tutorial 2: How to edit selected areas effectively with masking tool
- Tutorial 3: Glamour glow - a useful tool to improve light reflection
- Tutorial 4: How to edit food photos with stunning result fit for Instagram
- Tutorial 5: How to remove object of a photo (quick and easy)
About this free tutorial, and me
This is a series of articles about editing photos on mobile phones.
I have been a photography enthusiast since I was in high school. I still remember those moments when we took black and white photos, developed the negatives in the darkroom with hypo, one at a time.
Fast forward to the present day, new technology pushes photography skills beyond only clicking the shutter and developing the negatives. Instead, photo editing has become part of the essential elements in photography.
Although every mobile has a native photo editor installed, they can only perform some basic editing. Therefore, external apps or programs are necessary to improve the quality of a basic photo.
Unfortunately, professional photo editing programs like photoshop and GIMP with professional standards can only perform with the computer. That means you need to download the photos from the mobile to edit, which can be cumbersome for quick editing before sharing on Instagram or other social media. Furthermore, the learning curve is steep by any standard for casual photo snappers and amateur enthusiasts to master.
With this in mind, I thought of sharing my experiences on editing photos with the least effort to yield the best result. All these can be done on mobile, and free,
Snapseed is a powerful photo editing app, and free.
I will explain how to use some most powerful tools in Snapseed (out of a total of 28) to give you a head start in the following few articles. These tools will transform an ordinary, everyday photo taken by mobile into a DSLR-like quality photo that is Instagram-worthy.
These tools are so important that they will do most of the job for all kinds of photo editing. (The 80:20 rule).
You will see the result instantly.
Who will benefit from this free tutorial?
I will use real examples to explain how to use some specific tools in Snapseed to improve the quality of your photos.
If you are new to Snapseed, You should watch these videos. They are specially for beginners.
If you are already know how to edit the photo with your native photo editing tools on your mobile, you may skip them. I will add more articles progressively to cover all the tools in Snapseeds. You should be interested to check out those articles that involve some more complex techniques.
Future plan
Since most of the excellent mobile editing apps are not free, except Sanpseeds and Lightroom, I will also plan to explain how to use the free version of the Lightroom app at the later stage, which has some editing abilities not available in Snapseed.
Until then, get into action right now.

