As an average amateur hiker who had never tackled strenuous hikes at high altitudes, I never thought climbing Mount Kinabalu and reaching the summit was possible.
Here is the story of my climb, a test of my perseverance, endurance, and triumph.
Although I am healthy in my 60s, climbing one of the highest peaks in South East Asia is still daunting. However, I was committed to pushing to the limits with my brother, who is in his 70s!
Here is the complete documentation of my hike from the starting point at Timpohon Gate to Low’s Peak and back.
Climbing Mount Kinabalu was grueling, with steep inclines and challenging terrain, but I pushed on. And then, in the middle of the night, we continued our ascent to the summit, crossing the Sayat-Sayat checkpoint and reaching Low's Peak just in time to catch the sunrise.
The views from the summit were breathtaking, and the descending trip would be just as challenging as the climb.
Note: This post may contain affiliate links. Please read my privacy policy for more info. I may receive commissions for purchases made through links in this post. As an Amazon Associate, I earn from qualifying purchases.
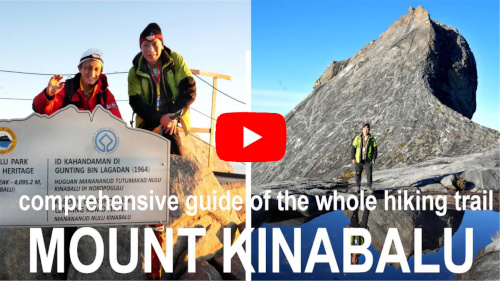
Don't miss the video we shot at Mount Kinabalu It is at the end of this article. 👇👇
I tried to record every step along the way. As a result, this article has about 80 images with comprehensive information.
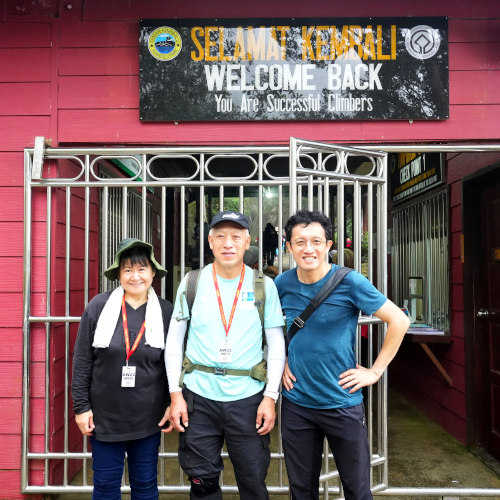
You should be one of the success climbers, take on the challenge, and emerge as a winner!
1. The day before climbing Mount Kinabalu
To acclimatize ourselves to the altitude before climbing, we arrived at Kota Kinabalu from Kuala Lumpur, then stayed at Kundasang for a night. After visiting this beautiful small town, we arrived at Kinabalu Park (Taman Kinabalu) the following evening. Despite the relatively higher cost, we opted to stay at Kinabalu Park due to its convenient location for starting our hike.
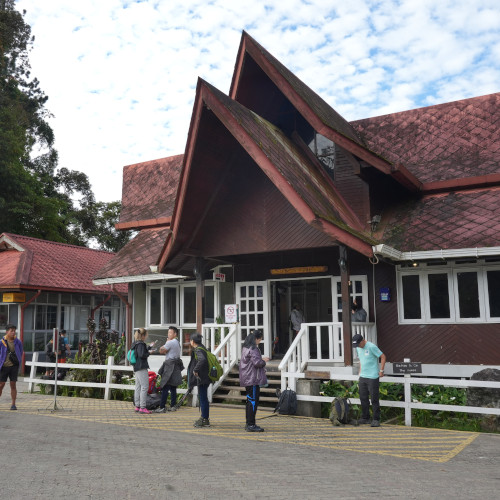
Upon our arrival, we proceeded to the park headquarters to check into Sutera Sanctuary Lodges. The front office staff was friendly and attentive, providing a detailed explanation of the room facilities and demonstrating how to navigate Kinabalu Park with the map at the front desk. Trail maps are hanging on the wall of the reception area.
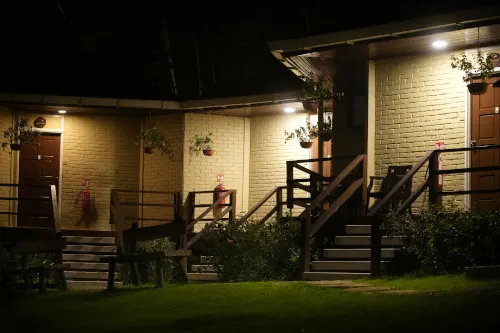
We stayed at the Hill Villa, just five minutes from the restaurant. The room was spacious, with all the necessary amenities and a balcony.

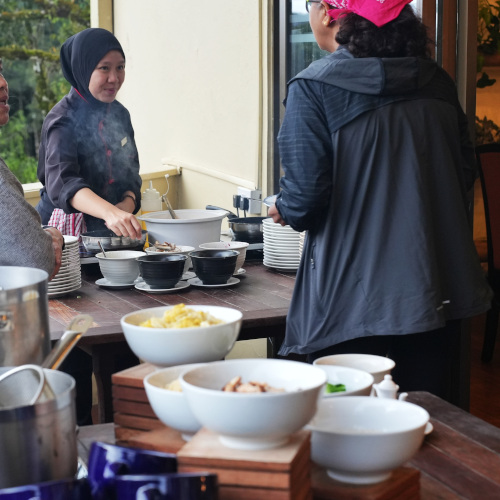
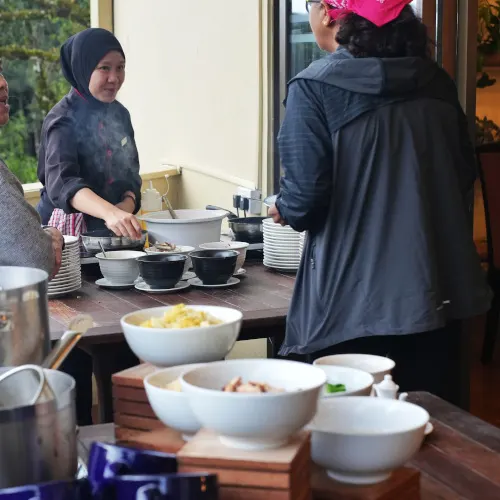
As dinner time approached, we headed to the Liwagu restaurant, less than a five-minute walk from our accommodation. They served buffet-style dinner in a pleasant environment.
There is a Goodie Bag Shop in the restaurant, which sells souvenirs, postcards, walking poles, waterproof bags, hiking gloves, energy bars, water bottles, and other items related to mountain climbing. You can do any last-minute shopping for anything you may have missed.


2. Get ready to climb the following day
We returned to the same restaurant in the morning to enjoy a sumptuous breakfast before the climb. It was perfect for fueling us up for the challenge. Afterward, we returned to our lodge to wait for our guide, who would transport us back to the park headquarters for registration.
From the vantage point, we could see the Laban Rata, the resthouse we would stay overnight during our climb.


Upon arriving at the park's main office, our guide helped us to prepare all the necessary documentation in the building next to the Suria Sanctuary Lodge.


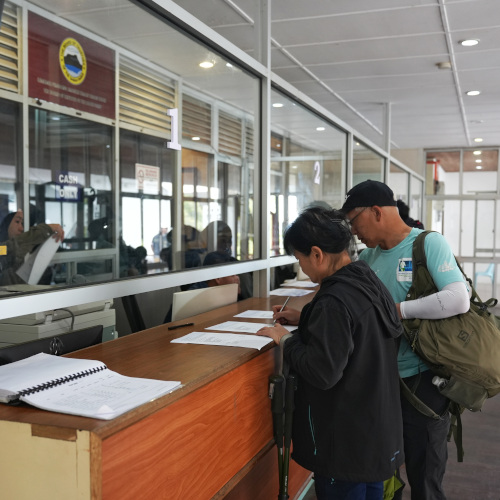

Each of us received a name tag that we had to carry at all times. The tag had a unique number and had to be reported at various checkpoints during the climb.
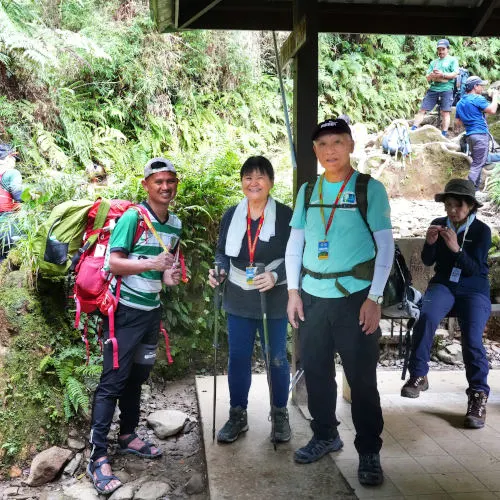
We met our guide, Arno, who would also serve as our porter. Since we carried part of the essentials, his combined load was less than 10kg.
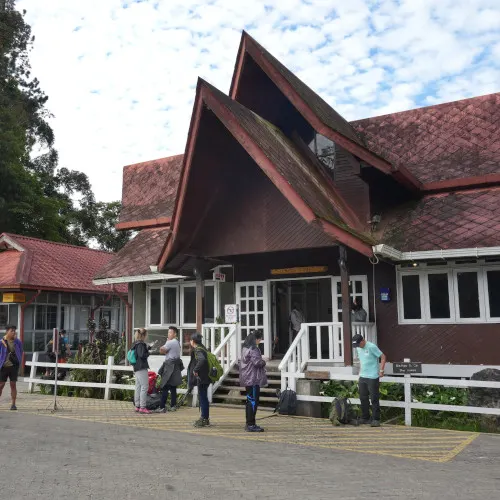
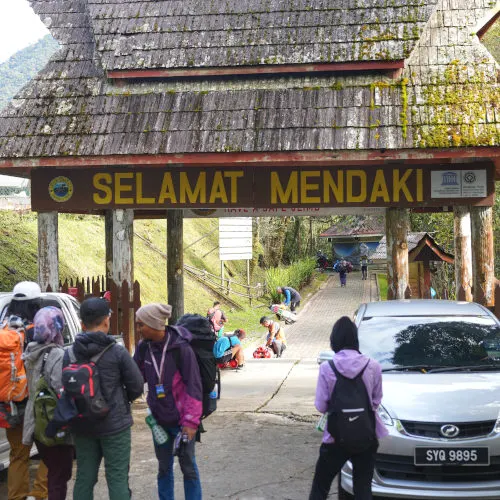
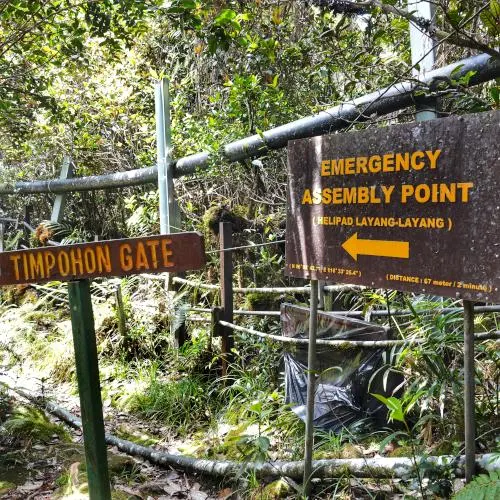
To reduce traffic congestion, Kinabalu Park uses its van to ferry climbers from the main office to the starting point of the climb, Timpohon Gate. The van ride was a 4 km journey on a narrow road. When we arrived at the gate with the phrase Selamat Mendaki, which means "Have a good climb," we officially began our hiking trip.

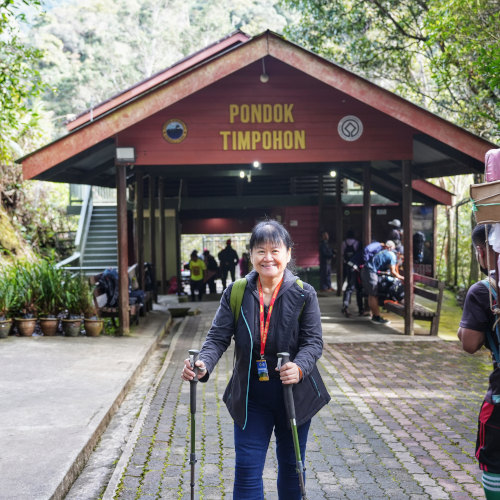
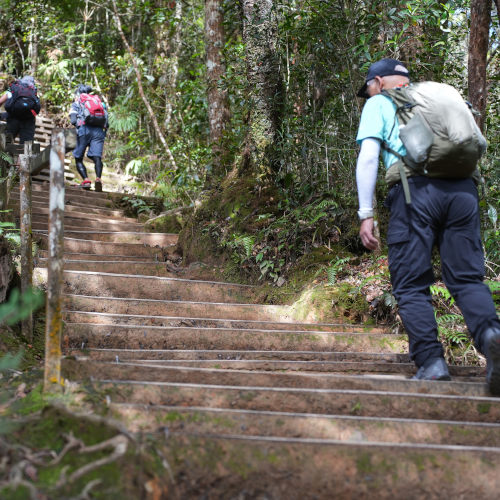
3. The starting point of the climb- Timpohon Gate

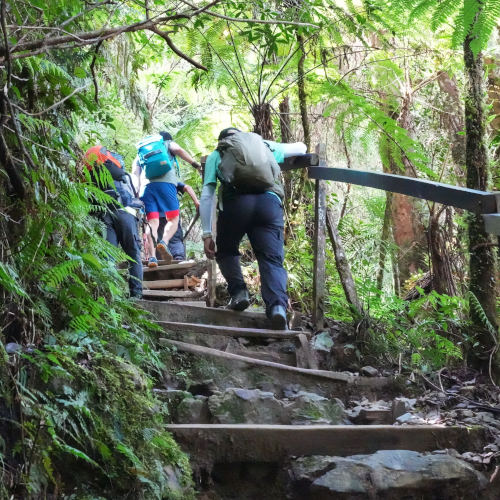
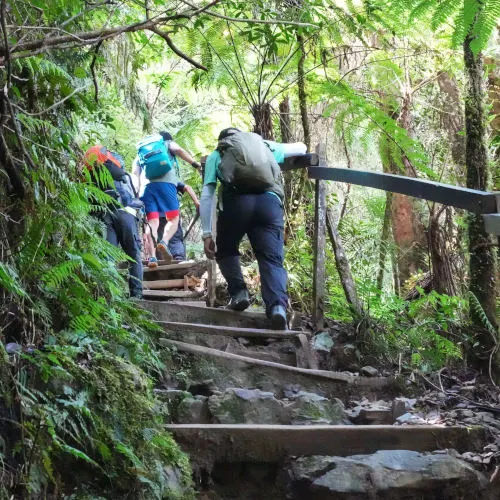
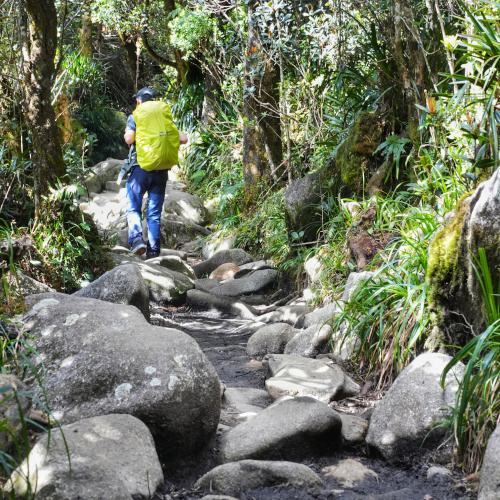
As we began our climb, we couldn't help but marvel at the strength of the professional porters carrying everything required for the resthouses at Panalaban. Despite backpacking over 20kg, they could walk faster than most amateur climbers, which was truly impressive. Furthermore, it served as a reminder not to waste anything at the resthouse since they brought everything with such hard labor.


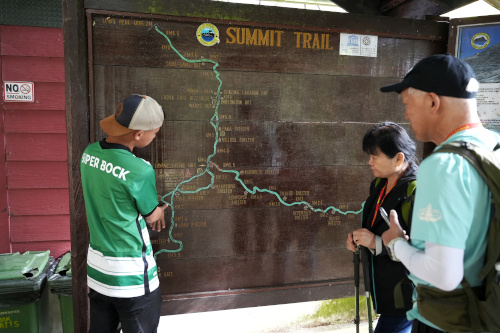
Our first checkpoint was the Timpohon Gate, where we reported ourselves before our mountain guide gave us a briefing to prepare us for the journey ahead.


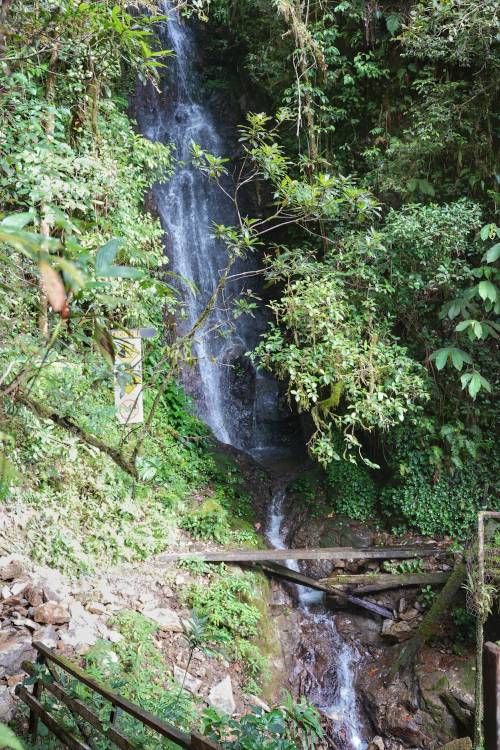
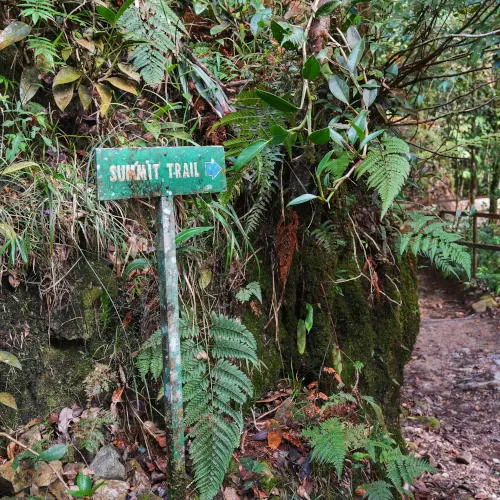
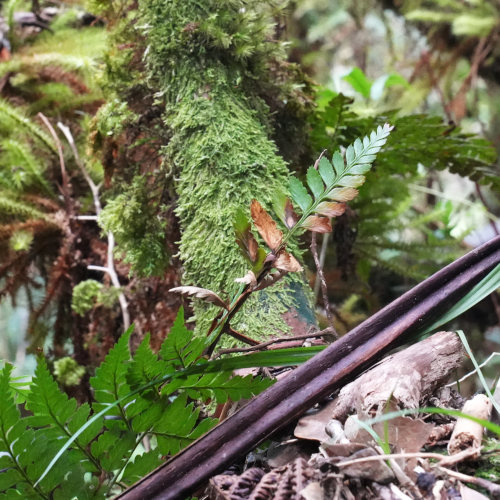
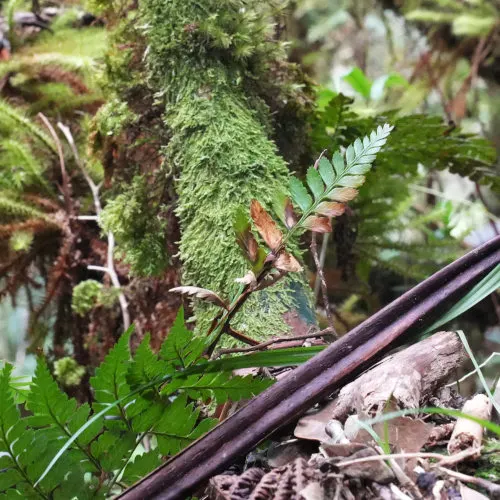
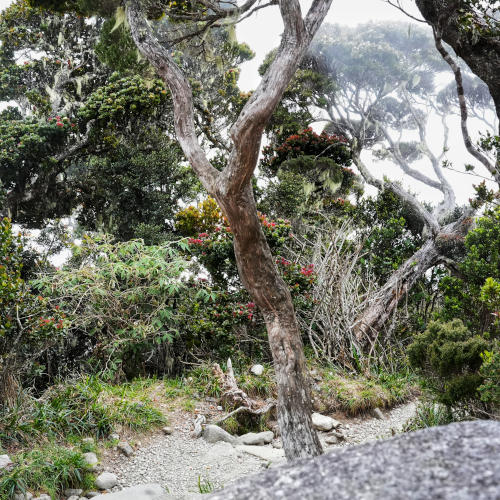
The initial steps were relatively easy, and we were surrounded by beautiful scenery on both sides. We soon saw an old signboard indicating we were on the summit trail. We also passed by the only waterfall along the trail- Carson Fall.


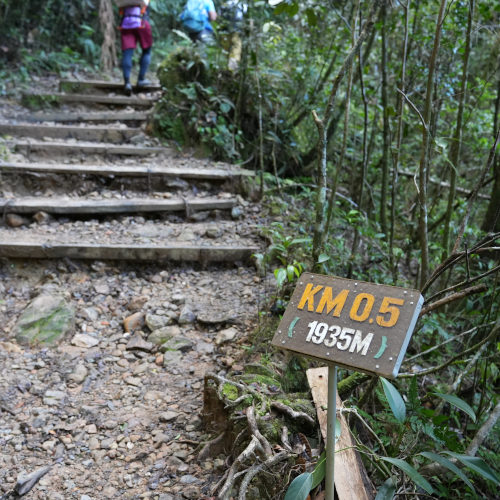
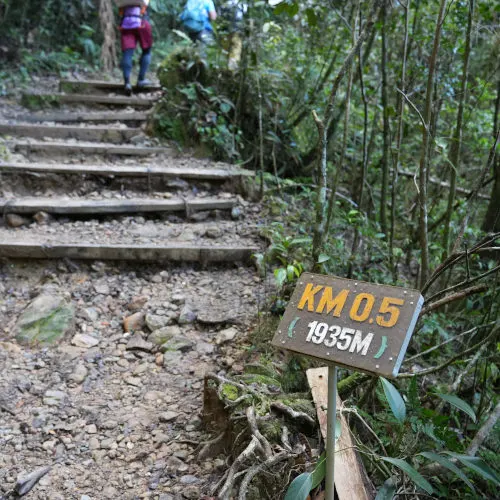
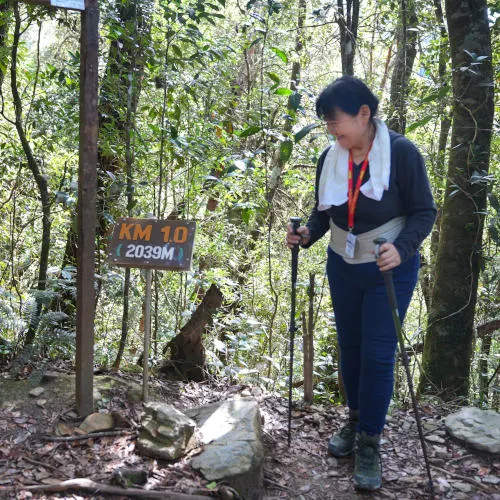
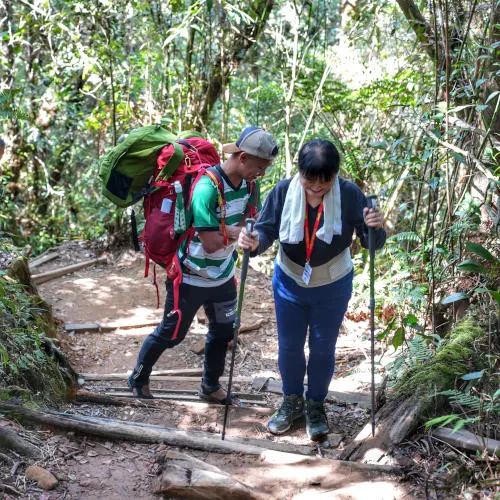
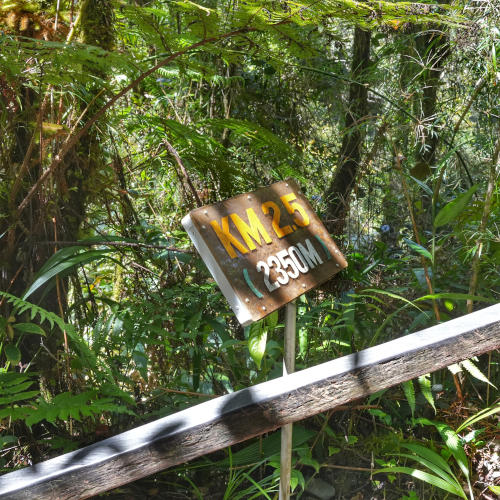
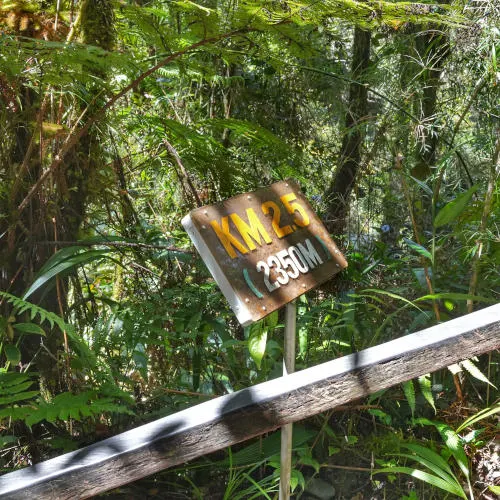
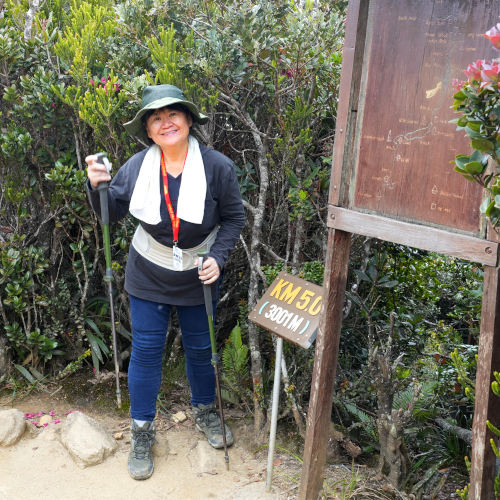
As we continued our journey, the trail began to get steeper, but it still had wooden steps installed. While we crossed the 0.5 km mark, and the elevation was still below 2000 m, making walking relatively easy.

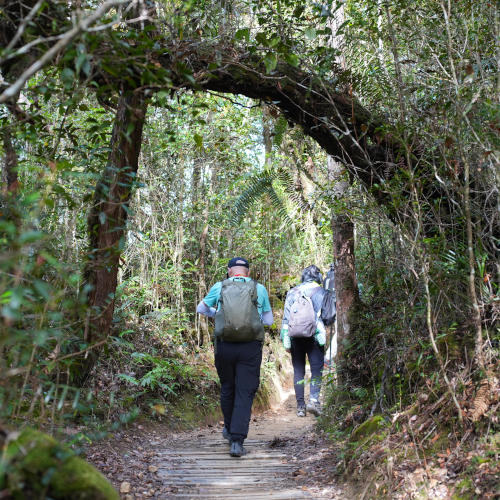

4. From Pondok Kandis to Pondok Layang-Layang

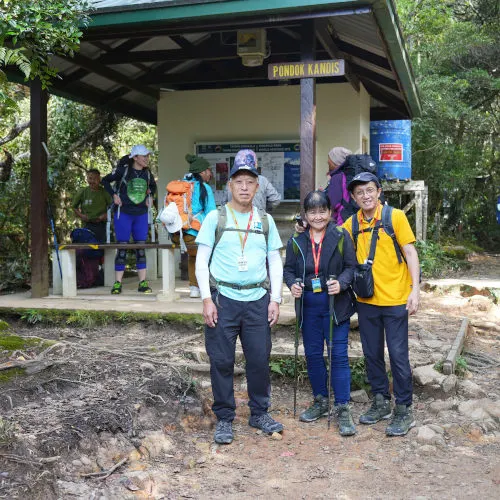
The first stop was Pondok Kandis.


Following our stop at Pondok Ubah, the scenery changed as the elevation increased. However, before fully appreciating it, we had to cross a narrow mountain ridge with deep valleys, providing a breathtaking view of the spectacular mountain ranges.

As we crossed the 2000 m mark, the trail became steeper with more challenging stairs and changes in vegetation.
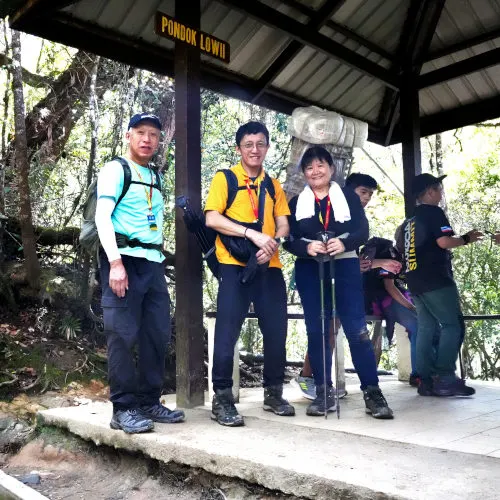
The third hut, Pondok Lowii, was home to several friendly squirrels we refrained from feeding, as the rules stated.


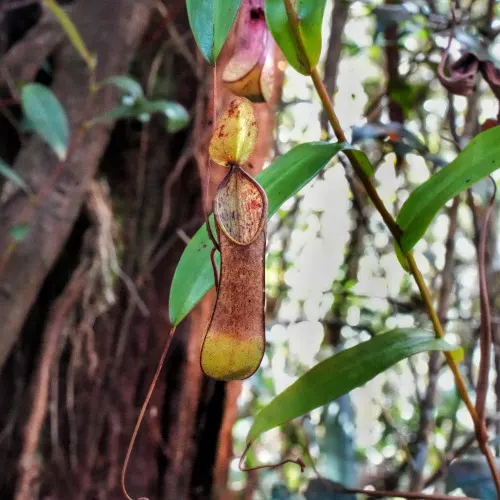
Additionally, we saw several nepenthes around this area.

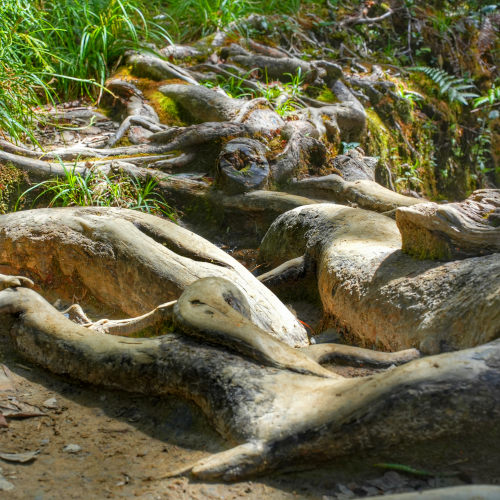
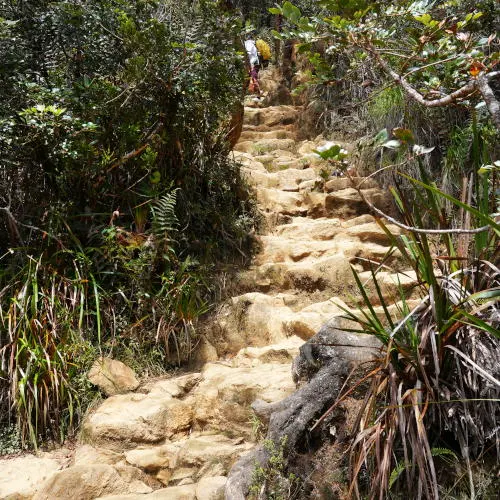
The trail became more demanding as we passed the 2.5 km mark, with massive tree roots across the path. The terrain also became rockier and more uneven. This made it clear that we needed more than simply running stairs in a building with smooth steps to prepare for this climb.


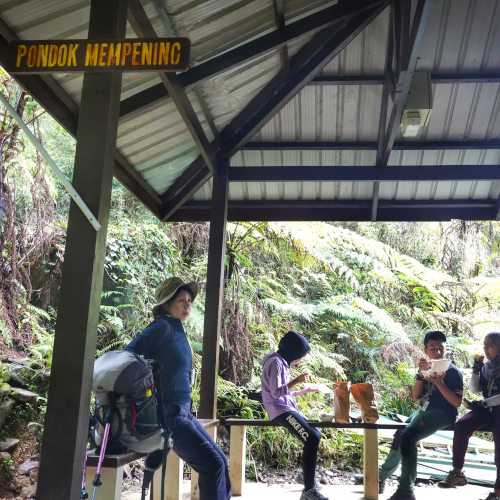
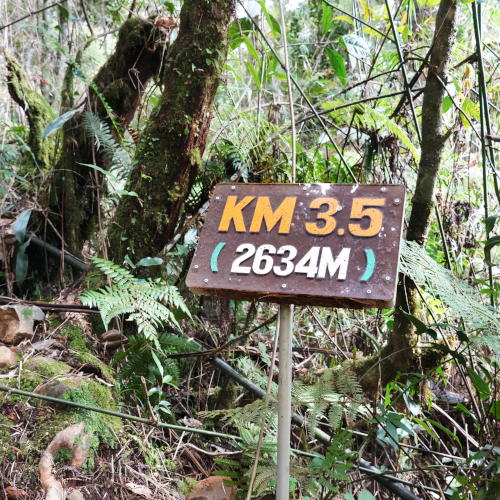
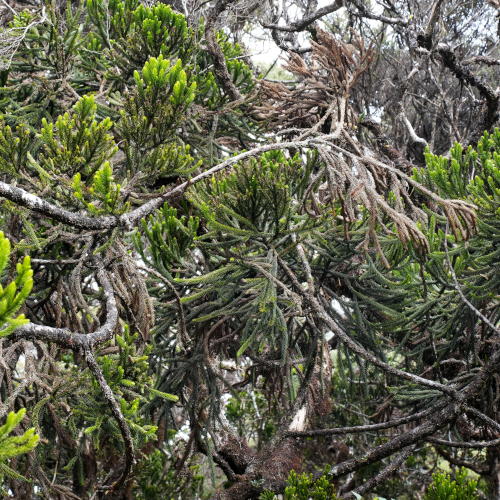
We stopped at the fourth hut, Pondok Mempening, to recharge before continuing our hike. At 3.5km, the elevation reached 2634m, and the vegetation reflected the height.

After this point, the climb became even more demanding, and we had to push ourselves to keep going. But the stunning scenery and sense of accomplishment made it all worth it.


5. From Layang Layang to Panalaban
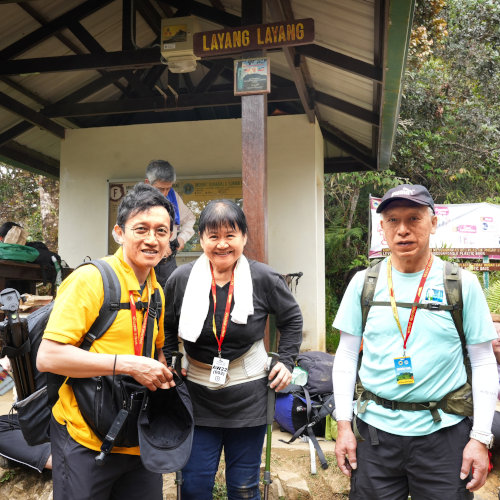

We stopped at Layang Layang, the fifth hut on the trail, which serves as the midpoint between Timpohon and Panalaban. Here is where we took our packed lunch.


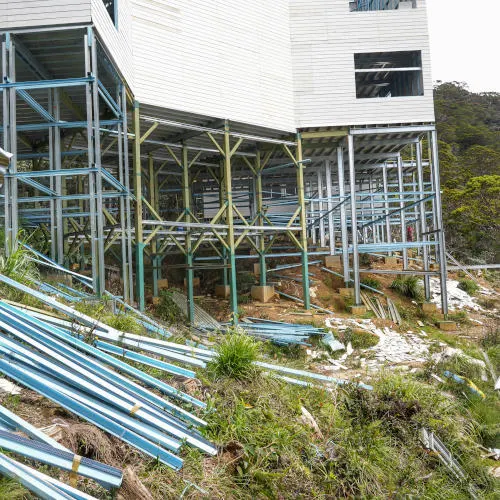
After lunch, we continued our hike on rocky terrain. Not far from the 4.0 km mark, we arrived at the junction of the Mesilau Trail, now closed.


Instead, a new chalet is under construction at this location.

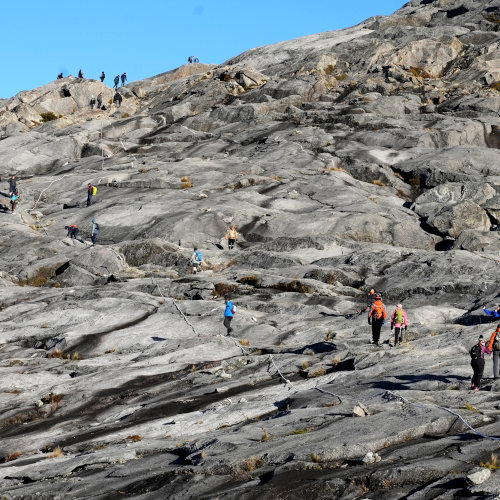
The trail became more punishing and steeper as we got closer to Panalaban. There are many yellow stones on the track.

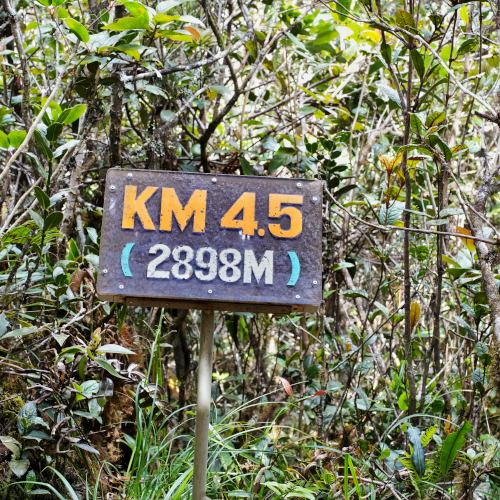
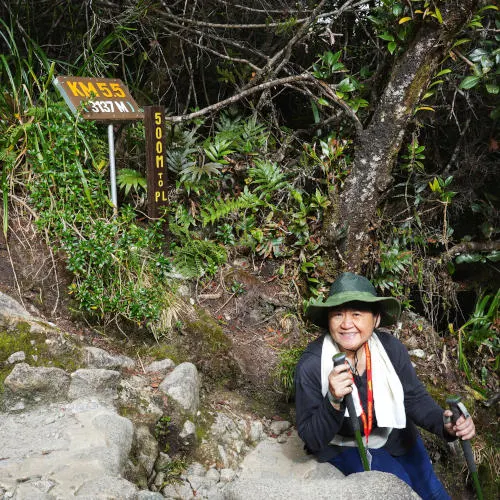
When we reached the 4.5 km mark, we climbed to an altitude of 2898m. At this point, the air got thinner, and fatigue set in.


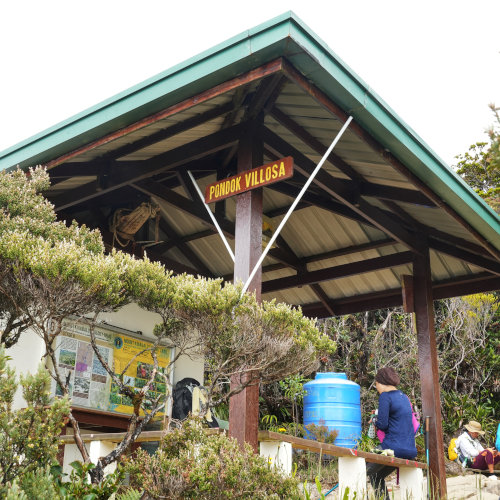
We arrived at Pondok Vilosa, the sixth hut on the trail, where we took another long break and used the washroom before making our final push to Panalaban.


Although the sign showed we were only 600m from Panalaban, our pace slowed as if the resthouse was nowhere in sight.


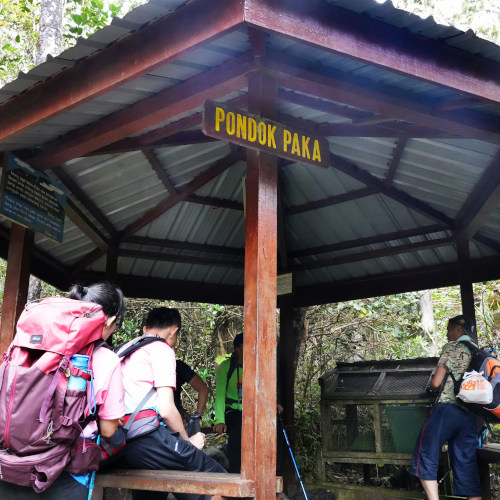
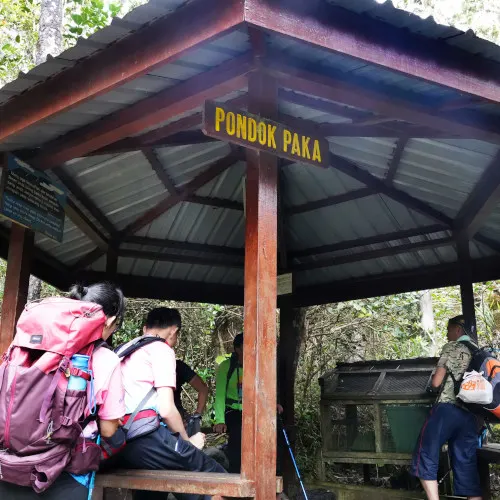
Pondok Paka is the last hut before reaching Panalaban, only 500m from the Panalaban.

The final stretch seemed to last forever as the air grew thinner, and the rocks were solid and massive, requiring extra effort with every step.


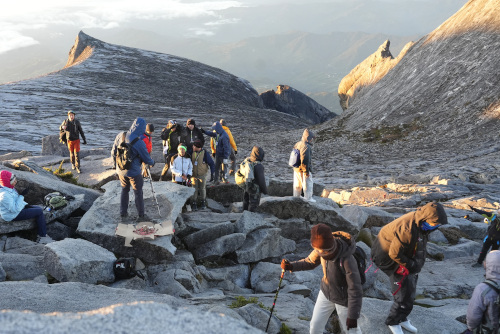
Finally, at 4.30 pm, we reached Panalaban. We had been slow, but we took time to enjoy the scenery and the hike unhurriedly.
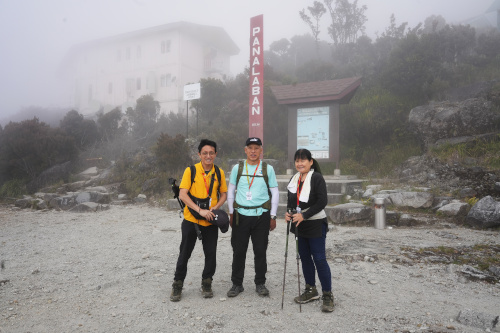
6. We arrived at Panalaban
Panalaban is where the resthouses are located and serves as the base camp for the climbers in preparation for the summit attack the following day. (more correctly, 2 am!)
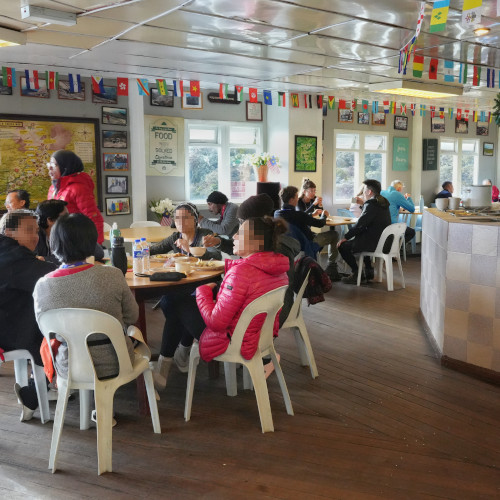
We had our dinner at the restaurant, which began at 5.30 pm. After that, we went to bed earlier. Although we knew it was hard to sleep at this moment, we had to force sleep to ensure we were well-rested after the climb on the first day.

In a subsequent article, we will delve deeper into our experience at Laban Rata Resthouse. So let's fast forward to 2 am and focus on our summit climb.
7. On the way to the summit
We began our final hike to the summit from Pendant Hut after an early breakfast at 1.30 am the next day. Since it was pitch dark, we had to use our head torch. Since it was pitch dark, we took only a few sporadic photos and no video.

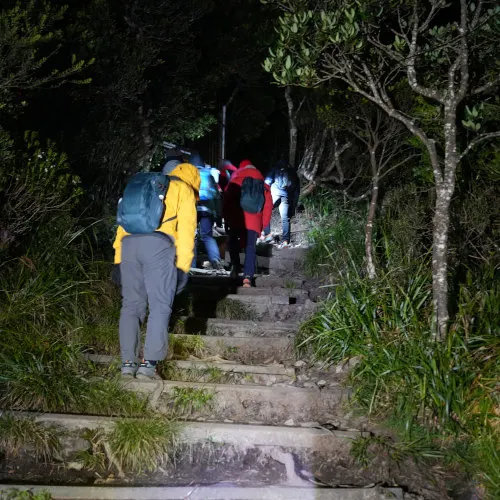
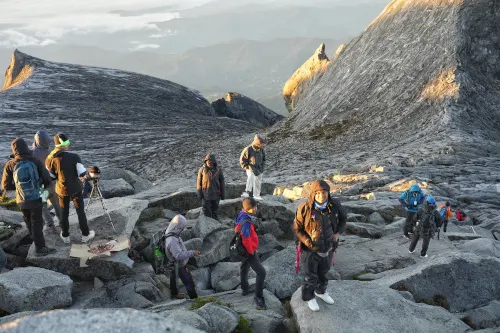
The trail started with numerous flights of steps and eventually turned into rocky paths. This section was much steeper than the one before reaching Panalaban, and the air was thinner, forcing us to make a few quick stops to catch our breath and readjust our pace to avoid overexertion. We also needed to ensure that we were safe and did not trigger any symptoms of altitude sickness.
We took many more images during our descending trip, which I will include in the following section.
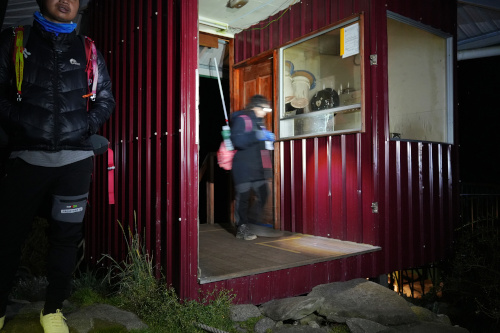
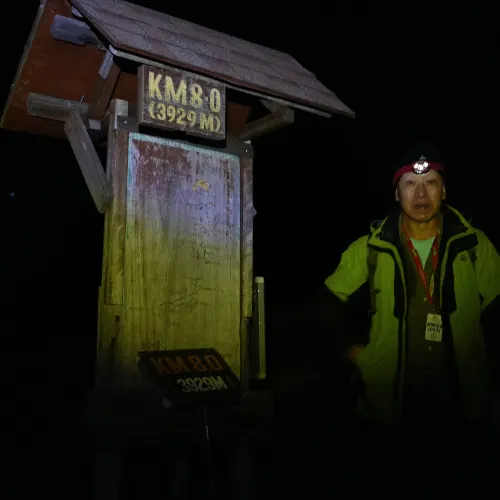
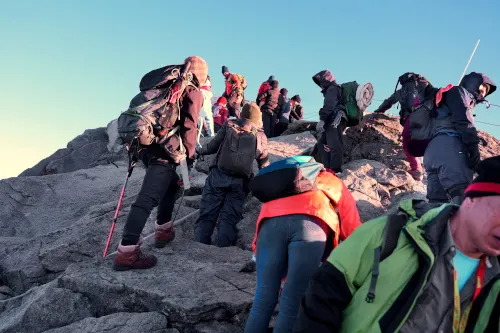
Finally, we had to register at the Sayat-Sayat hut, the final checkpoint, before reaching the summit.

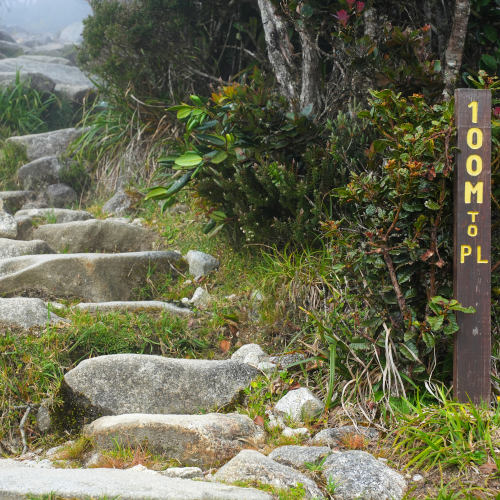
The final push was quite strenuous, particularly after reaching the 8 km mark at 3929M. However, this also motivated us to keep moving forward since we knew we needed to ascend merely another 166m to reach the summit.

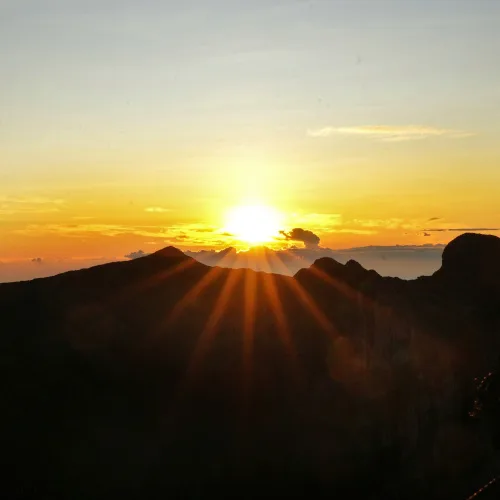
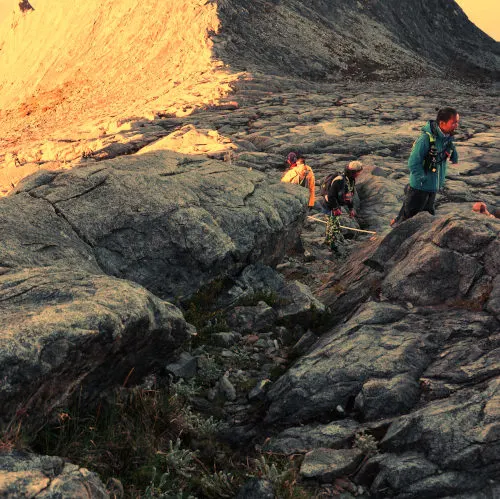
It was around 5.30 am, and we noticed the sky gradually brighten.
8. On top of the highest peak at Mount Kinabalu

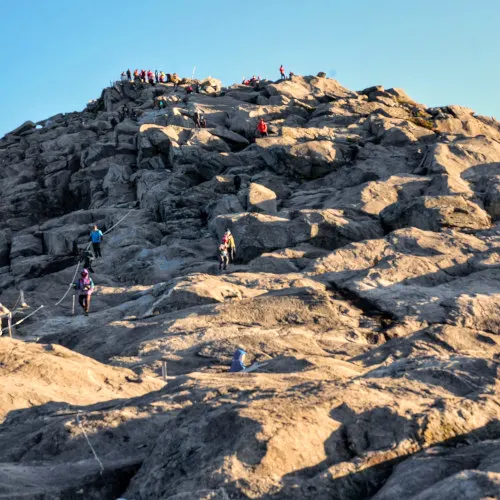
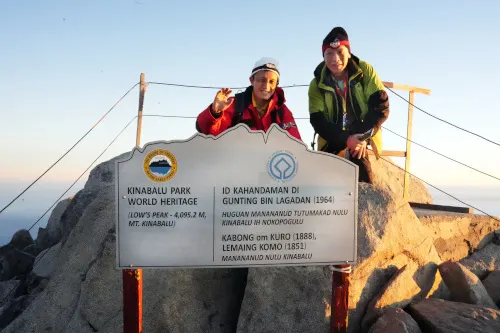
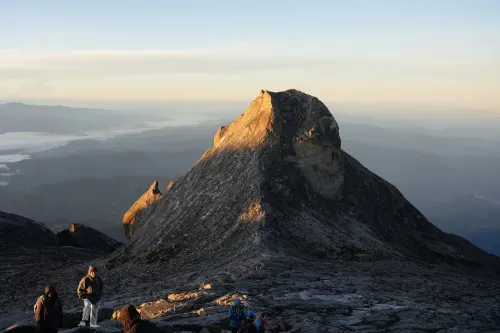
At 6.05 am, we finally reached the summit, a moment we had dreamed of for so long. Standing atop Low's Peak at 4095m above sea level is indescribable. The total distance from Timpohon Gate is 8.72km, with an elevation of 2229m. We arrived before sunrise and witnessed the sun spilling over the mountaintop, illuminating every crevice and contour with a radiant glow.

On the summit, we enjoyed our coffee and the incredible view. I salute my brother, who is 70 this year and still had abundant reserve energy after reaching the summit. As for me, I was near 90 percent of my capacity.
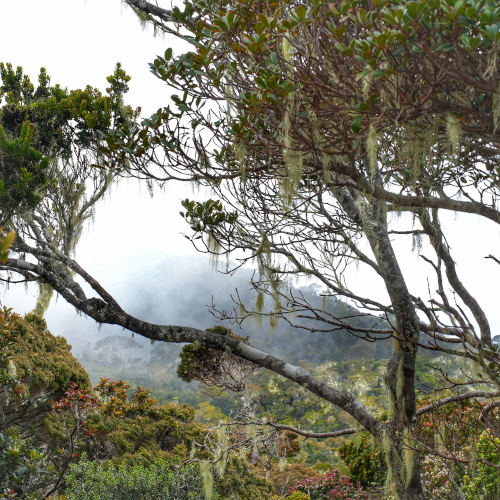
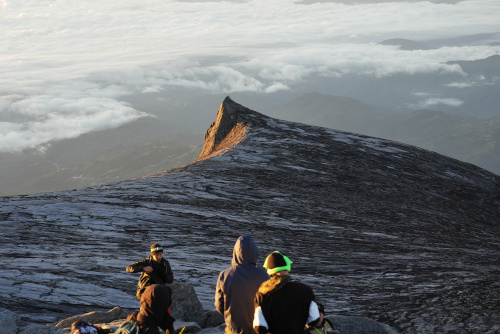
We waited for the first ray of light to stretch out, illuminating the sky. In the distance, the silhouette of a mountain range towered against the gradually brightening sky, transforming the incredible granite slabs into a canvas of vibrant colors and casting a golden hue over the climbing trail.
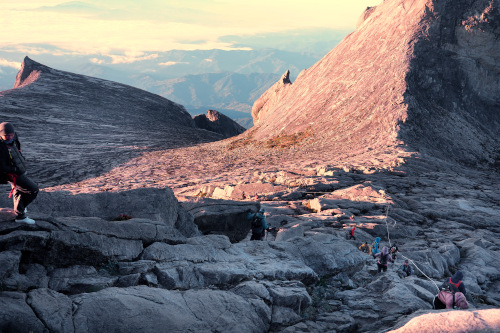


It clearly showed that we ascended on a massive granite slab with no trail. Almost no vegetation was growing there, and we used the rope to guide us up to the summit.

Finally, we took a picture with the sign indicating Low's Peak and its altitude, the definitive proof that we had reached the summit.
The mountains, valleys, and peaks surrounded us, all below our feet, boosting our sense of achievement. We had a panoramic view, with Alexandra, St John, and South Peak all surrounding us.


9. Descending


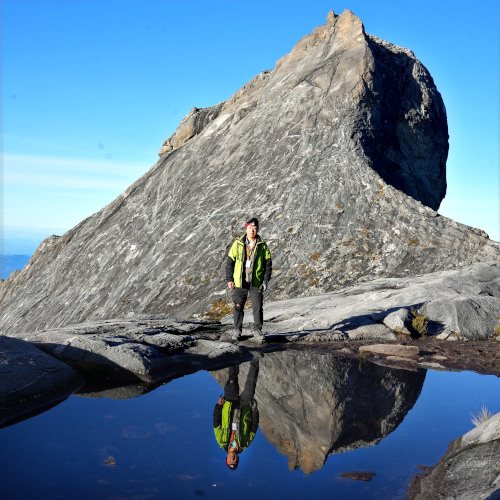
After a brief stay at the summit, we decided to descend at 6.30 am and made a divert as recommended by our guide. He said it was easier and led us to a small lake reflecting St John Peak called the Mirror Lake, though it was smaller than we had anticipated.

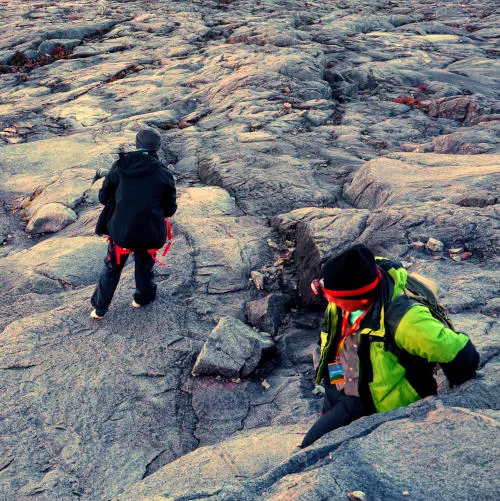
As we descended following the white rope, we realized there was no clear path in the wilderness, and it was pitch dark during our ascent, making us cautious of the slippery, tilted, and steep granite slabs.


The white rope guided us in the right direction and doubled as a safety rail to hold on to while descending.


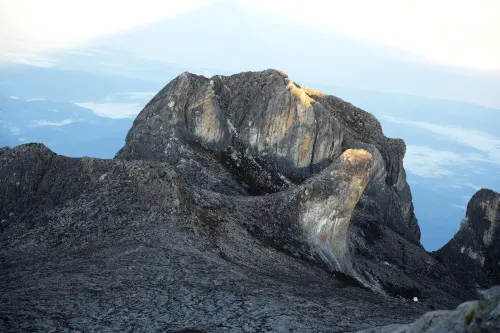
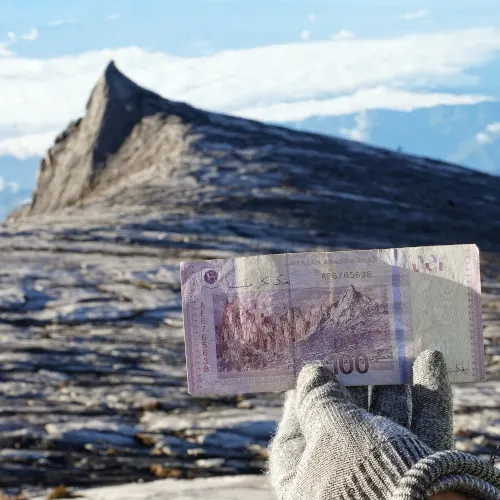
At the 8.0 km mark, we enjoyed the perfect view of the South Peak, identical to the image on the RM100 note.

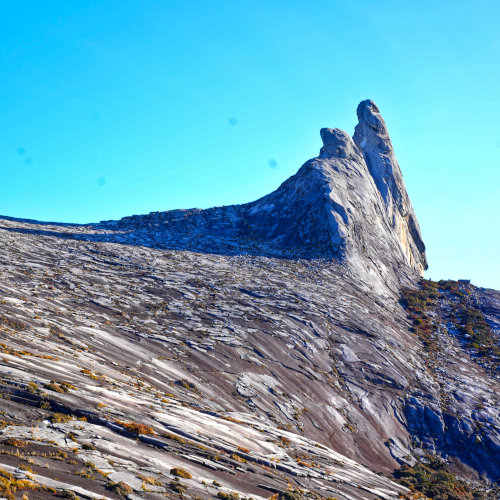
On the left side, while descending, was the Donkey's Ears Peak, damaged by the 2015 Sabah earthquake, resulting in the dislodging of part of the granite outcropping that gave the peak its distinctive shape. We could still see the scattered rockfalls across the mountain.

Descending was less strenuous than climbing up, but we still had to be careful while trekking on the slippery granite, which tilted sideways down the cliff, throwing us off balance. Holding onto the rope was necessary for safety at some sections.
We took a snack break at the Sayat-Sayat Checkpoint before descending multiple steps again. Finally, at 9.30 am, we arrived at the Laban Rata Resthouse. After breakfast, we continue to descend back to Timpohan Gate, the starting point of the climb near the Pendant Hut, ending our perfect Mount Kinabalu climb.


10. Epilogue
This is the story of climbing Mount Kinabalu, Malaysia's highest mountain and the first UNESCO world heritage site. After visiting Sandakan of Sabah last year, climbing Mount Kinabalu became my goal. Initially, we planned to explore the untouched forest of Maliau Basin, but we changed our plan when my brother from Hong Kong showed interest in climbing Mount Kinabalu.
As an amateur hiker, it was a memorable experience, especially hiking at night with a headlamp. The climb challenged our physical fitness, confidence, perseverance, and determination.
Please read our article "How to climb Mount Kinabalu: 16 Tips for first-time hikers" here.
Watch our video shot during our climb to the summit 👇👇
If you have read this blog post this far, don't miss out on the video shot during our climb at Mount Kinabalu. Click the image below to watch on YouTube (shot in high definition!).